
Step by step Installation
Installation of Wooden/PVC Blinds: Is very straight forward and requires little expertise or tools.
You will need: An appropriate screwdriver.
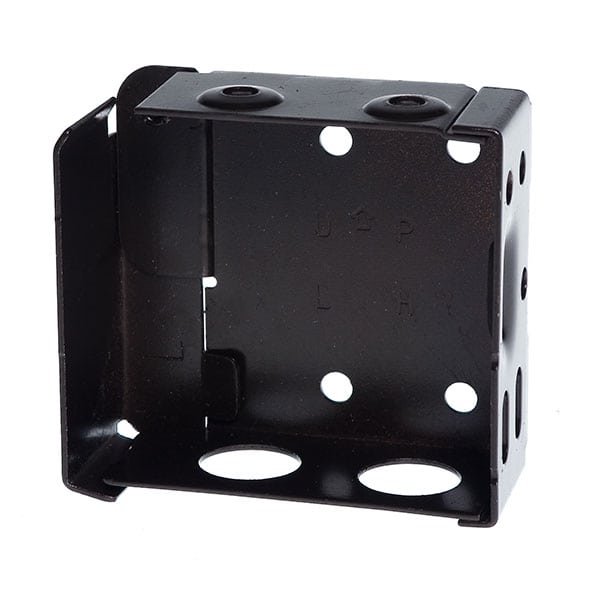
Bracket Dimensions: Width 25mm, Height 55mm, Depth 65mm (with facia 70mm)
Step 1
Take the packaged ‘end’ brackets (picture 1) & separate them. Each is marked ‘L’ or ‘R’ and will have a hinged door that always represents the front of the bracket.
NB: Bracket colour will be appropriate for the colour of the blind.
Step 2
Screw the appropriate bracket to each top corner ensuring they are set at equal distances from the front of the sill.
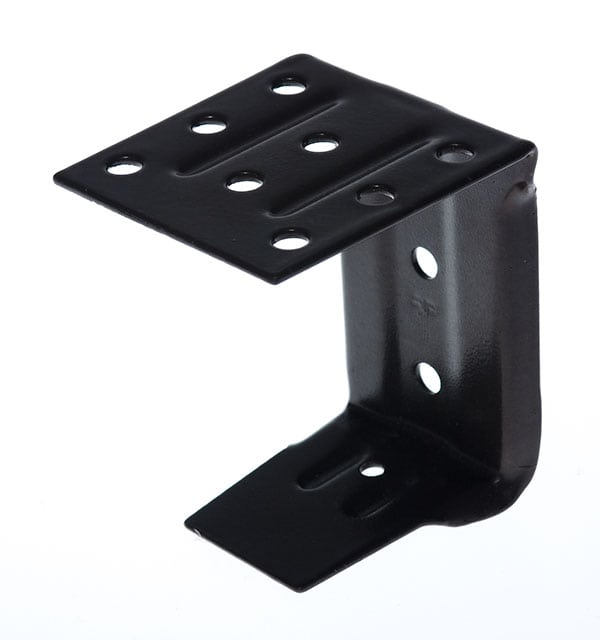
For longer blinds you will also be supplied a centre bracket (picture 2) – when choosing the position for this bracket ensure that it isn’t directly on top of the centre string of the blind – i.e. install to one side. Finally ensure it is positioned at an equal distance from the front of the sill as the side brackets.
Step 3
Ensure both hinged doors are open, slot the blind into the brackets and close the hinged doors securely. Remove the double sided tape on the headrail and attached the pelmet/fascia.
NB: For long blinds it is easier with a second person assisting.